
Estimated reading time: 4 mins
Need to know how to screen record on Mac? In our digital world, the ability to record your screen can be incredibly useful. Whether you’re a student creating a presentation, a professional preparing a tutorial, or just wanting to capture memorable moments on your computer, screen recording is a valuable skill. For Mac users, this process is straightforward and versatile, allowing you to record the full screen, a portion of the screen, or a specific window. In this guide, we’ll walk you through each method step-by-step.
Getting Started: How to Screen Record on Mac with the Built-In Tool
First things first, you need to access the tool that enables you how to screen record on Mac. This feature is built into macOS, so there’s no need for third-party software for basic recordings. Here’s how to find it:
- Open QuickTime Player: Located in your Applications folder, QuickTime Player is more than just a media player. It’s also a powerful tool for recording your screen.
- Use a Shortcut: Alternatively, you can quickly access the screen recording feature by pressing
Command + Shift + 5. This shortcut brings up the Screenshot and Screen Recording toolbar, which is where you can select various options for recording.
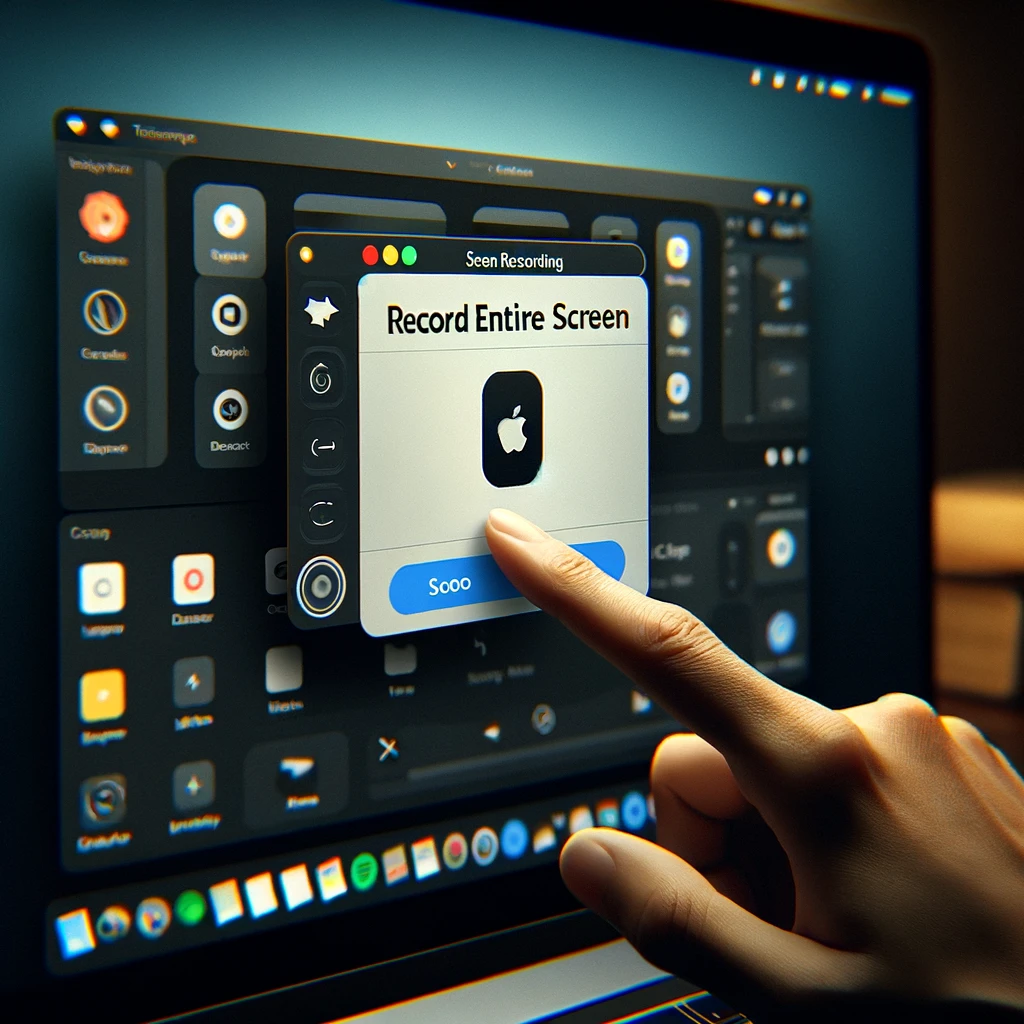
How to Screen Record on Mac with Full Screen Recording
Recording the entire screen is useful when you want to capture everything happening on your Mac. Here’s how to do it:
- Access the Screen Recording Toolbar: Press
Command + Shift + 5. - Choose Your Recording Type: Click on “Record Entire Screen” (represented by an icon with a screen).
- Start Recording: Click on the “Record” button to start. Your entire screen will start recording.
- Stop Recording: Click the “Stop” button in the menu bar at the top of your screen (it looks like a square inside a circle) or press
Command + Control + Esc.
How to Screen Record on Mac with Partial Screen Recording
Sometimes you may want to record just a part of your screen. This can be useful for focusing on a specific area or application without distractions. Here’s how to record a portion of your screen:
- Access the Screen Recording Toolbar: Press
Command + Shift + 5. - Select “Record Selected Portion”: Click on the icon that looks like a dashed square.
- Adjust the Recording Area: Drag the edges of the box that appears to select the part of the screen you want to record. You can move the entire box by dragging the center.
- Start and Stop Recording: Follow the same steps as in full screen recording to start and stop your recording.
How to Screen Record on Mac with Specific Window Recording
If you need to record a specific application window, macOS makes this easy too:
- Access the Screen Recording Toolbar: Press
Command + Shift + 5. - Choose “Record Selected Window”: Hover over the window you want to record. It will be highlighted automatically.
- Click to Record: Once you’ve selected the window, click on it to start recording just that window.
- Stop Recording: Use the same method as before to stop recording.
Tips for Better Screen Recordings

- Audio Recording: If you want to include audio in your screen recording, such as your voice, click on the “Options” button in the Screen Recording Toolbar and choose your microphone.
- Show Mouse Clicks: For tutorials or presentations, showing mouse clicks can be helpful. You can enable this in the “Options” menu.
- Do Not Disturb: To avoid notifications popping up during your recording, turn on “Do Not Disturb” mode in your System Preferences.
- Storage Space: Remember that screen recordings can take up significant storage space, especially if they’re long or in high resolution. Ensure you have enough space before starting.
- Editing: QuickTime Player also allows you to trim your recording. Just open the recording in QuickTime, go to “Edit,” and choose “Trim.”
After Recording: Saving and Sharing
Once you’ve stopped recording, your Mac will show a thumbnail of the recording in the lower right corner of your screen. Click on it to open and preview your recording. From here, you can:
- Save the Recording: Go to “File” and then “Save” to save your recording. Choose a location, name your file, and click “Save.”
- Share the Recording: You can directly share your recording via email, Messages, AirDrop, and more by clicking the “Share” button in the QuickTime Player.
How to Screen Record on Mac: Conclusion
I’ve shown you how to screen record on Mac. Screen recording on a Mac is a versatile and useful feature that’s easy to use, whether you’re recording the full screen, a portion of it, or a specific window. By following the steps outlined in this guide, you can effortlessly capture whatever is happening on your screen. This functionality is invaluable for a variety of purposes, from educational to professional to personal. So the next time you need to record your screen, remember these tips and take full advantage of your Mac’s screen recording functions.