
Estimated reading time: 3 mins
Need to know how to freeze a row in Excel? Excel offers a myriad of functionalities to make your life easier. One such functionality, which is surprisingly simple yet incredibly useful, is the ability to freeze rows in a spreadsheet. Freezing rows or columns in Excel keeps selected rows visible as you scroll through your spreadsheet. This is particularly handy when you’re dealing with large datasets and need to keep an eye on specific headers or information.
Why Freeze Rows in Excel?
Imagine you have a spreadsheet filled with data; it could be a class attendance record, a yearly budget, or a project timeline. As you scroll down, the top rows – usually containing headers or key information – disappear off the top of the screen. You’re left scrolling up and down, trying to remember which column is which. That’s where freezing rows comes in. By freezing the top row or any row of your choosing, you can scroll through your data while keeping the important information in view.
Step-by-Step Guide to Freeze a Row in Excel
1. Open Your Excel Spreadsheet: Begin by opening the Excel file you want to work on. If you haven’t already entered your data, go ahead and do that first.
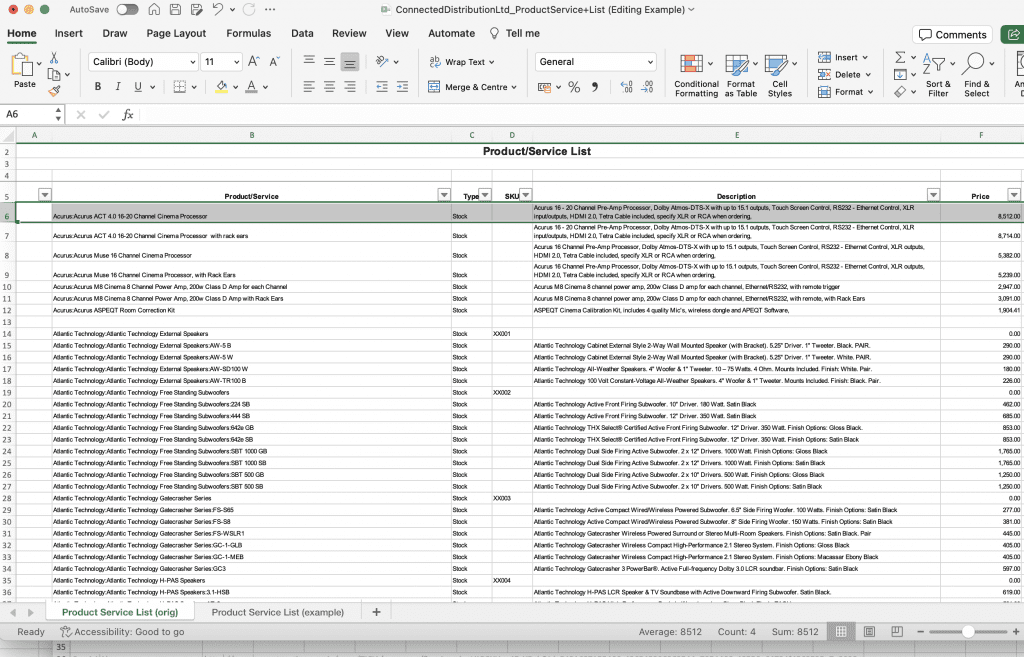
2. Select the Row Below What You Want to Freeze: This is a crucial step that often confuses first-timers. If you want to freeze the first row, click on the second row. If you want to freeze the first three rows, click on the fourth row, and so on. Essentially, you’re telling Excel, “Keep everything above this line in place.”
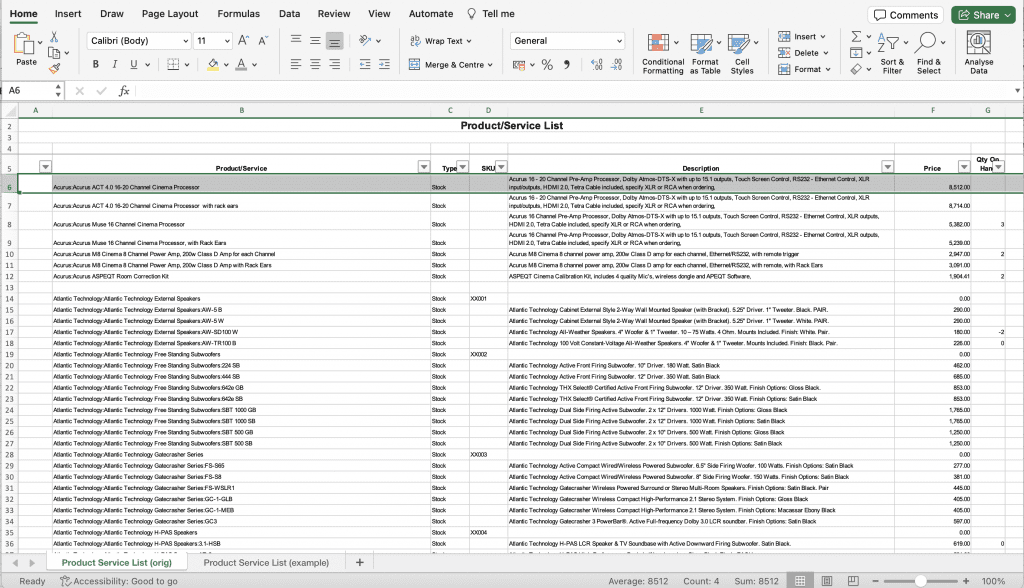
3. Go to the View Tab: In the Excel ribbon at the top of your screen, you’ll see several tabs. Click on the “View” tab to access the freeze panes options.

4. Click on Freeze Panes: In the View tab, you will find the “Freeze Panes” button. Click on it to see the dropdown menu.
5. Choose Your Freeze Option: You will be presented with three options: “Freeze Panes,” “Freeze Top Row,” and “Freeze First Column.” Since you want to freeze a row, you can either choose “Freeze Panes” (if you’ve selected a row as mentioned in Step 2) or “Freeze Top Row” if you’re just freezing the first row.
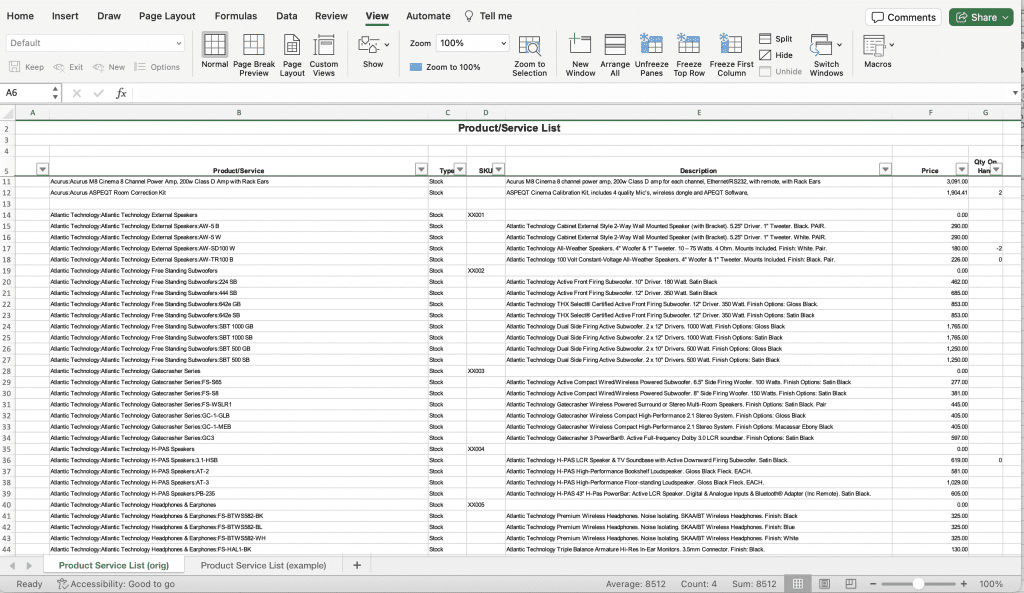
6. Scroll Through Your Spreadsheet: Once you’ve clicked on your chosen option, try scrolling through your spreadsheet. You’ll notice that the row(s) you’ve frozen stays in place, making it much easier to navigate through your data.
How to Freeze a Row in Excel: Additional Tips and Tricks
- Freezing Multiple Rows or Columns: You can freeze rows and columns simultaneously. If you want to freeze the first row and the first column, click on cell B2 (the cell in the second row and the second column) and then click “Freeze Panes” under the View tab.
- Unfreezing Panes: To unfreeze, simply go back to the “View” tab, click on “Freeze Panes,” and then select “Unfreeze Panes.”
- Keyboard Shortcuts: For quicker access, familiarize yourself with Excel’s keyboard shortcuts. For example, ALT + W + F + R instantly freezes the top row.
- Splitting Panes: If freezing panes doesn’t quite suit your needs, you might want to explore “Splitting” panes. This feature divides your window into different panes that can each scroll separately.
How to Freeze a Row in Excel: Conclusion
Freezing rows in Excel is a straightforward yet powerful feature. It enhances your ability to review and analyze data without losing track of important header information. It’s a classic example of how a small change can significantly impact your efficiency and accuracy when working with data. Whether you’re managing a small project or analyzing complex datasets, mastering simple functions like freezing rows can make Excel a much more valuable tool in your arsenal.
Remember, Excel is packed with features and shortcuts that are designed to make your work easier. Now that I’ve shown you how to freeze a row in Excel, the more you learn and experiment, the more proficient you’ll become. So, the next time you’re faced with a giant spreadsheet, remember this simple trick to keep your data in check. Happy Excel-ing!