
Greeting cards often hold sentimental value, and throwing them away can feel wasteful. Instead of letting these cards gather dust or clutter up drawers, why not give them a second life? Upcycling is a creative and eco-friendly way to repurpose your old cards into something new and beautiful. Here are five clever ideas for upcycling greeting cards that will inspire your next crafting session.
1. Create Personalized Gift Tags
One of the simplest and most practical ways to upcycle greeting cards is by turning them into gift tags. The colorful designs and festive messages make them perfect for any occasion.
How to Make Gift Tags:
- Look through your pile of old greeting cards and select ones with interesting designs, patterns, or messages that stand out.
- Use a pair of scissors to carefully cut out these sections. Shapes like rectangles, circles, or even custom designs like stars or hearts can make your tags more visually appealing.
- Use a hole punch to create a hole at the top of the tag. If you don’t have a hole punch, you can carefully poke a hole using a sharp object like a needle or the tip of a pen.
- Attach a ribbon, twine, or string through the hole, tying a small knot or bow for added charm.
- Write your personalized message on the back using a marker or pen. If the back isn’t writable, glue a small piece of plain paper to make it easier.
Gift tags made from old cards are not only economical but also add a unique and personal touch to any gift. You can customize the tags further by adding glitter, stickers, or even small embellishments like beads or buttons. This project is a perfect activity for the whole family and can turn an ordinary wrapping job into something truly special.
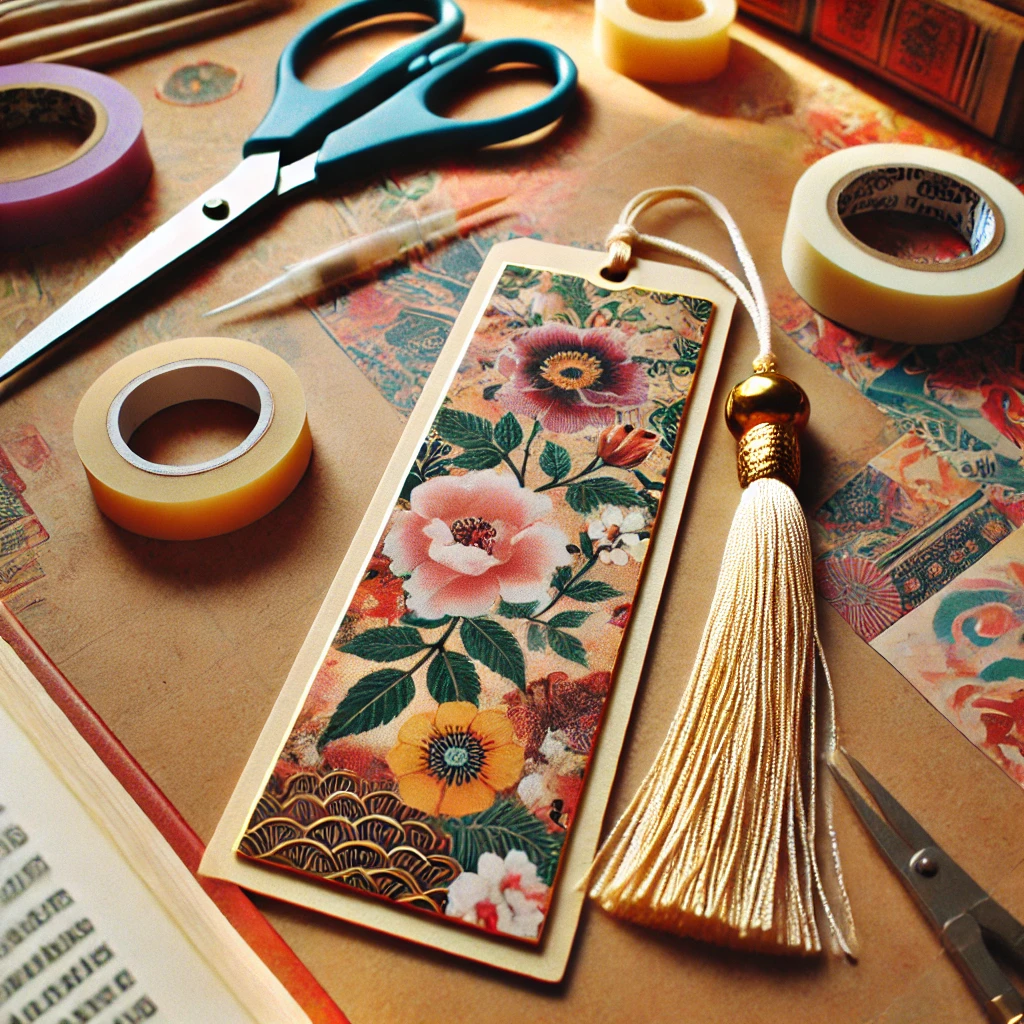
2. Design DIY Bookmarks
For the book lovers in your life, greeting cards can be transformed into personalized bookmarks. These are quick to make and can be customized for any taste.
Steps to Create Bookmarks:
- Begin by choosing greeting cards with sturdy material and vibrant designs. Look for cards that feature patterns, quotes, or artwork that resonate with you or the recipient.
- Cut the card into a rectangular shape, approximately 2 inches wide and 6 inches long. If you prefer other shapes, such as a narrow oval or a corner triangle, feel free to experiment.
- Laminate the cut-out for durability. This step is optional, but it helps protect the bookmark from wear and tear. You can use self-adhesive laminating sheets or visit a local stationery store for professional lamination.
- Punch a hole at the top center of the bookmark and add a decorative tassel or ribbon. This not only makes the bookmark look elegant but also makes it easy to locate in a book.
- Enhance your bookmark with embellishments. Stickers, doodles, or washi tape can be used to give it a personalized touch.
Bookmarks made from greeting cards are sturdy and visually appealing, making them an ideal gift for avid readers. Additionally, this project encourages creativity and provides a meaningful way to reuse materials that might otherwise be discarded.
3. Craft Unique Wall Art
Turn your greeting cards into decorative pieces for your home by creating wall art. This is a great way to showcase beautiful designs or sentimental cards.
How to Make Wall Art:
- Start by selecting greeting cards with designs, colors, or messages that you find visually appealing. Cards with intricate patterns, floral motifs, or sentimental quotes work particularly well.
- Decide on a theme or color scheme for your wall art. For example, you might choose cards with pastel tones for a soft look or bright and bold colors for a vibrant display.
- Cut the cards into shapes such as circles, hearts, hexagons, or even freeform designs. Use a stencil or template to ensure uniformity if you’re creating a patterned layout.
- Arrange the pieces on a canvas, poster board, or inside a frame. Experiment with different layouts until you’re satisfied with the composition. Overlapping pieces can add depth and texture.
- Secure the pieces using glue, double-sided tape, or adhesive dots. For a polished look, consider using a shadow box frame that adds dimension to your artwork.
This project allows you to preserve cherished memories while enhancing your home decor. It’s a creative way to personalize your space and create conversation pieces that reflect your personality and taste.
4. Assemble a Scrapbook or Memory Journal
If you love keeping mementos, use greeting cards to create a scrapbook or memory journal. This is an excellent way to store and revisit special memories.
Steps to Create a Scrapbook Page:
- Gather your collection of greeting cards, photos, and other memorabilia like ticket stubs, pressed flowers, or small notes.
- Cut out meaningful sections of the card, such as messages, illustrations, or decorative elements. If a card has a particularly touching message, consider preserving it intact as a full page.
- Glue these pieces onto scrapbook pages, arranging them in a visually pleasing layout. You can layer elements for added depth or create themed pages for different occasions.
- Add captions or journal entries to complement the visuals. For example, you can write about the occasion that prompted the card or the person who sent it to you.
- Use additional embellishments like stickers, stamps, or washi tape to enhance the design of your scrapbook pages.
This project is not only sentimental but also a fun way to revisit your favorite moments. A scrapbook or memory journal filled with upcycled greeting cards becomes a treasured keepsake that you can pass down to future generations.
5. Make Handmade Postcards
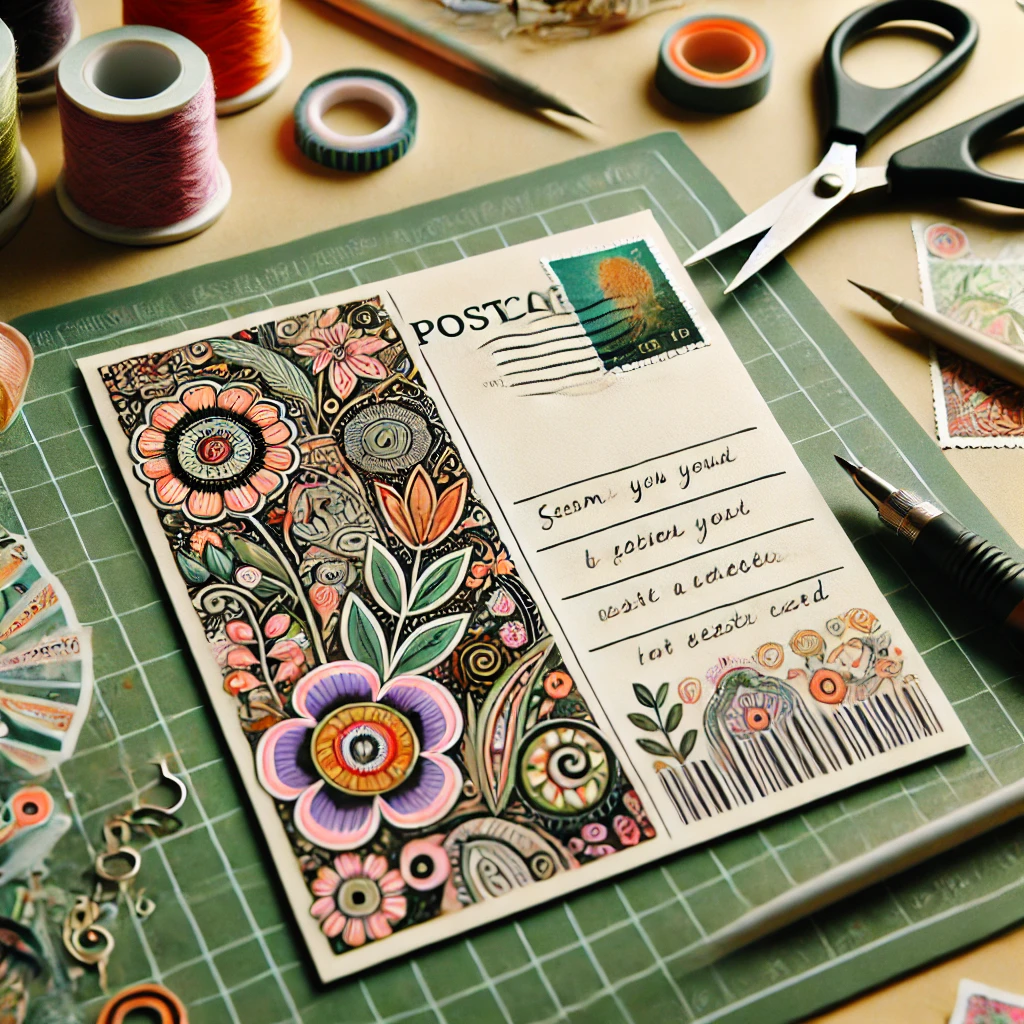
Give your old greeting cards a second chance to spread joy by turning them into postcards. This is a wonderful way to stay connected with friends and family.
How to Make Postcards:
- Choose greeting cards with a sturdy front panel. The design should be engaging and leave enough space on the blank side for writing.
- Cut the card’s front panel to postcard size (approximately 4×6 inches). Use a ruler and craft knife for clean edges, or scissors for a more casual look.
- Write your message on the blank side, leaving room for the recipient’s address and a stamp. Use permanent ink to prevent smudging.
- Decorate the blank side with small doodles, stamps, or stickers to make it more personal.
- Add the recipient’s address and affix a stamp. Postcards created from greeting cards meet most postal service requirements, but double-check the thickness to ensure it’s acceptable.
Handmade postcards are more personal and meaningful than store-bought ones, and they’re sure to make the recipient smile. This simple project is a great way to repurpose cards while spreading kindness and connection.
Final Thoughts
Upcycling greeting cards is a fantastic way to reduce waste, save money, and create something beautiful. Whether you’re crafting for yourself or gifting your creations, these projects bring new life to old memories. So, the next time you’re tempted to toss a card, think about how you can transform it into something new and delightful. Happy crafting!